🚀 Why use the Qwik CLI?
The Qwik CLI helps you scaffold a fully functional application in seconds. It's the official way to start working with Qwik, and ensures you get the best project structure with all the essential tools already configured.
🎒 Prerequisites
- ✅ Ubuntu 22.04 LTS (or newer) 👉 Download Ubuntu
- ✅ A basic understanding of the terminal 👉 See our guide
- ✅ Node.js v18.17+ and npm 👉 See our guide
- ✅ A code editor like VSCode 👉 See our guide
📂 Start by opening your Terminal
📁 Organize your workspace
It’s a good habit to keep your development projects in one dedicated folder. Let’s create a new folder called dev inside your home directory.
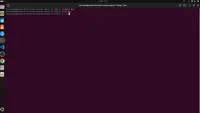
mkdir dev to create a new folder, then move into it with cd dev. This keeps your Qwik projects cleanly separated from other files.✨ Grab the Qwik CLI command
The easiest way to get the exact command is to copy it directly from the Qwik homepage. This ensures you always run the latest version.
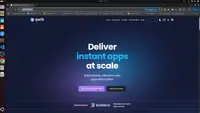
💻 Paste and run the command
Now go back to your terminal and paste the command you just copied from the Qwik website. This will launch the CLI wizard and guide you through the setup.
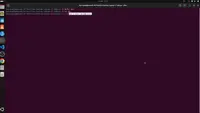
📦 Name your project folder
The first question from the Qwik CLI asks where to create your new app. It's best to give it a clear and simple name. In this example, we use ./qwik-app, which creates a folder called qwik-app inside the current directory.

./qwik-app to create the project in a new folder named qwik-app. You can change this name to anything you want.🧱 Choose your starter template
Next, the Qwik CLI will ask which type of app you want to create. We recommend selecting Empty App (Qwik City + Qwik). This gives you a minimal but complete starting point, including routing via Qwik City.
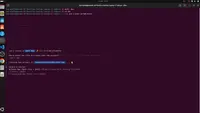
📦 Install npm dependencies
Qwik uses npm to manage all its packages. When prompted, select Yes to automatically install everything your project needs to work.
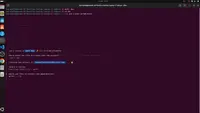
🗂️ Initialize a Git repository
Git is a version control system that helps you track your changes and collaborate with others. Select Yes when asked to initialize a Git repository — it's highly recommended for any project.
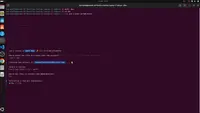
.git folder inside your project and prepare it for version control.🎉 Wanna hear a joke?
As a fun final touch, the Qwik CLI asks if you want to hear a joke while it finishes setting up your project. Totally optional, but we recommend saying Yes — it adds a nice smile to your workflow 😄
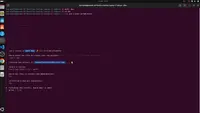
⚠️ Git failed to initialize? Don’t panic.
Sometimes, the CLI tries to set up a Git repository but fails — usually due to missing configurations or permissions. This is totally normal and nothing to worry about.
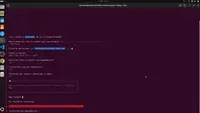
This happens even to experienced developers. We’ll handle it right after the project finishes installing.
✅ Your Qwik app has been created successfully
The CLI has finished its work! Your new Qwik project is now ready in the qwik-app folder. The success message confirms that all dependencies were installed.
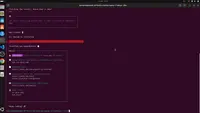
qwik-app.Before continuing, we’ll fix the Git initialization error, then open the project in Visual Studio Code.
Let’s head into the project folder and take care of those last steps manually.
📂 Move into your Qwik project
Now that the project is created, you need to navigate inside the new folder to start working on it.

cd qwik-app to enter your new project directory.From here, you’ll be able to initialize Git manually and launch your app in Visual Studio Code.
🔧 Fix the Git error (if needed)
If you saw a red warning earlier about Git failing to initialize, don’t worry — it’s common on fresh Ubuntu installs.
Just run the command manually to initialize a Git repository in your project folder:
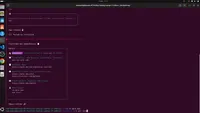
git init to fix the Git issue and prepare your project for version control.This step ensures you can use Git to track changes or connect to GitHub later.
🧑💻 Launch your Qwik project in Visual Studio Code
Let’s now open the freshly created Qwik app in your code editor.
Use this command to open the current directory in VS Code:
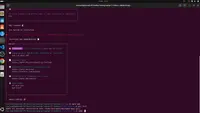
You’ll now see your project structure in the file explorer, ready to code, configure, or run.
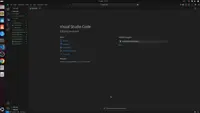
🎉 Project ready in VS Code
Congratulations! Your Qwik application is now fully set up and opened in Visual Studio Code.
🎥 Watch the video
Prefer to follow visually? Here's the full process on video:
✅ Your Qwik App is Fully Installed
You’ve just created your first Qwik app. In the next chapter, we’ll run the development server and start editing your project.
Have questions, issues, or feedback?
Join our official Learn Qwik Discord server to get help and connect with the community.
⏭️ Next step
Now that your app is ready, let's run it locally and explore the Qwik structure.
Next 👉 Run your Qwik App